

ReactJS
컴포넌트를 클래스로 생성하기
컴포넌트를 클래스로 생성하기

클래스로 컴포넌트를 생성하는 방법에 대해 알아보겠습니다.
우리가 외부에서 데이터를 가져오고 이것을 다룰려면 앞에서 학습했던 컴포넌트 선언방식으로는 무리입니다.
그래서 클래스로 컴포넌트를 생성해야합니다.
이것을 클래스형 컴포넌트라고 하며, 앞에서 지금까지 해왔던 컴포넌트 생성방식은 함수형 컴포넌트라고합니다.
함수형 컴포넌트 생성방법
class 컴포넌트명 extends React.Component {
    render() {
        return <div></div>;
    }
}
자 그럼, Device 컴포넌트를 클래스형 컴포넌트로 변경합시다.
Device.js파일을 다음의 코드로 변경해주세요.
/src/Device.js
import React from 'react';
class Device extends React.Component {
render() {
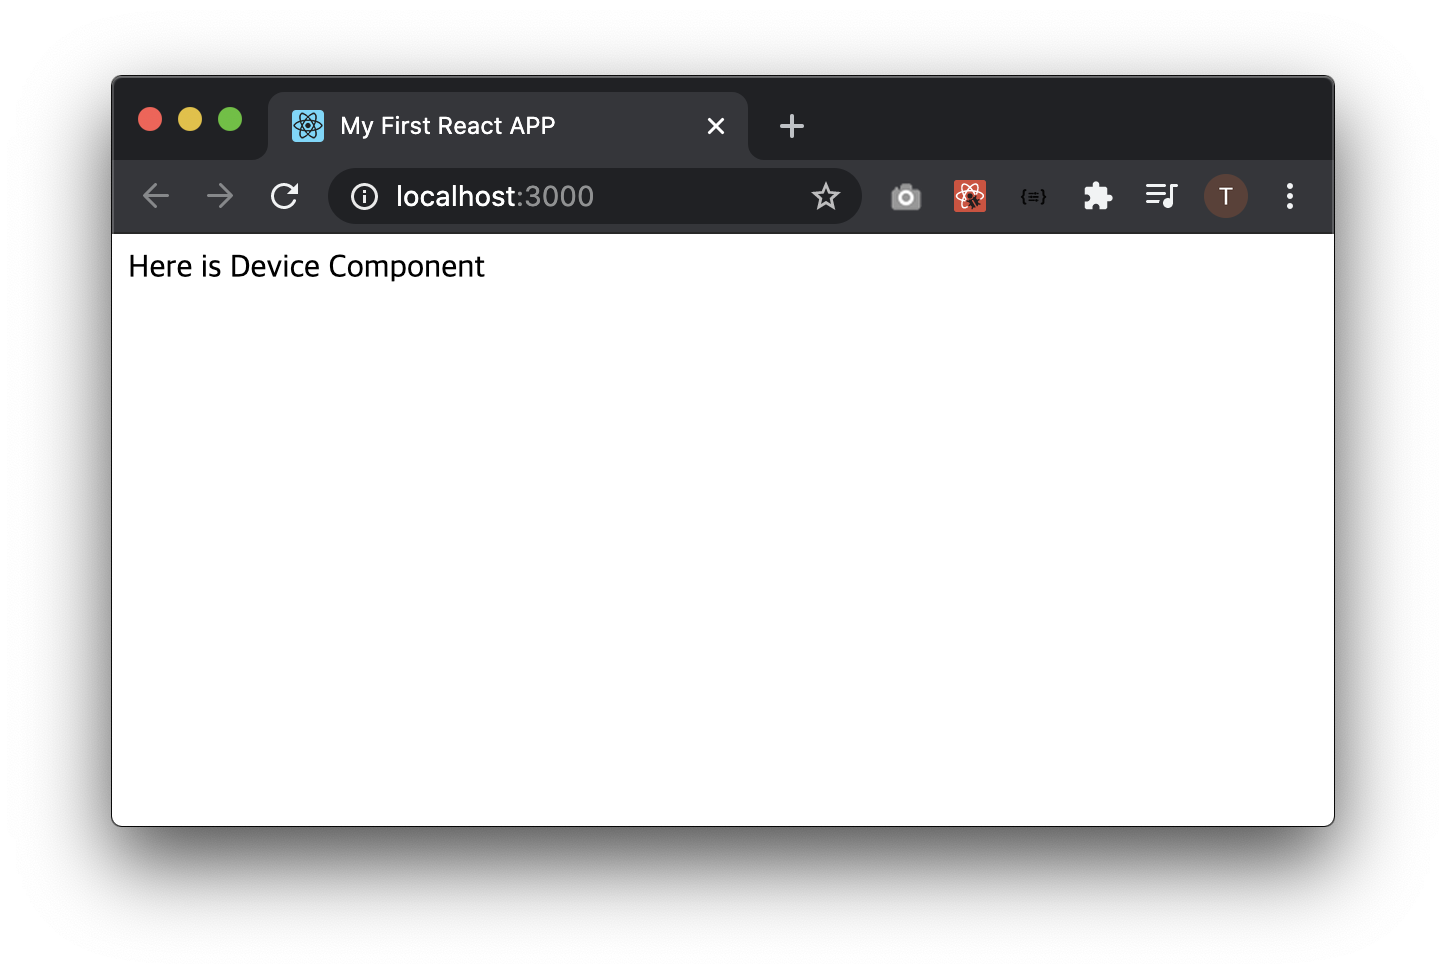
return <div>Here is Device Component</div>;
}
}
export default Device;
다음과 같이 잘 실행됩니다.
다음과 같이 Component도 import하면 React.Component 클래스를 상속 받을 때 React.를 작성하지 않아도 괜찮습니다.
일일이 React.을 작성하지 않도록 다음과 같이 변경해주세요.
/src/Device.js
import React, { Component } from 'react';

class Device extends Component {
    render() {
        return <div>Here is Device Component</div>;
    }
}

export default Device;
아시는 분은 아시겠지만 클래스는 처음 실행할 때 생성자가 우선 실행되고 마지막으로 소멸자가 실행됩니다.
클래스형 컴포넌트도 이와같이 순차적으로 메소드가 실행됩니다.
그럼 이것에 대해서 알아볼게요.
render함수외에도 다음의 함수들을 사용할 수 있습니다.
constructor(), componentDidMount(), componentDidUpdate(), componentWillUnmount()
자 그러면 Device 컴포넌트에 위의 함수들을 전부 입력해 봅시다.
/src/Device.js
import React, { Component } from 'react';

class Device extends Component {
    constructor(props) {
        super(props);
        console.log('in constructor');
    }

    componentDidMount() {
        console.log('in componentDidMount');
    }

    componentDidUpdate() {
        console.log('in componentDidUpdate');
    }

    componentWillUnmount() {
        console.log('in componentWillUnmount');
    }

    render() {
        return <div>Here is Device Component</div>;
    }
}

export default Device;
constructor() 함수내에는 필수적으로 super(props); 코드를 넣어줍니다.
super는 부모클래스의 생성자를 의미합니다.
부모 클래스라하면 우리가 상속받고 있는 React.Component 클래스를 의미합니다.
그럼 이걸 왜 사용하는가는 super()함수를 호출하지 않으면 this 키워드를 사용할 수 없기 때문입니다.
즉 클래스 안에서는 props를 사용하려면 this키워드로 접근해야하는데 사용할 수 없기때문이죠.
그러므로 constructor에서는 필수로 super(props)를 사용합니다.
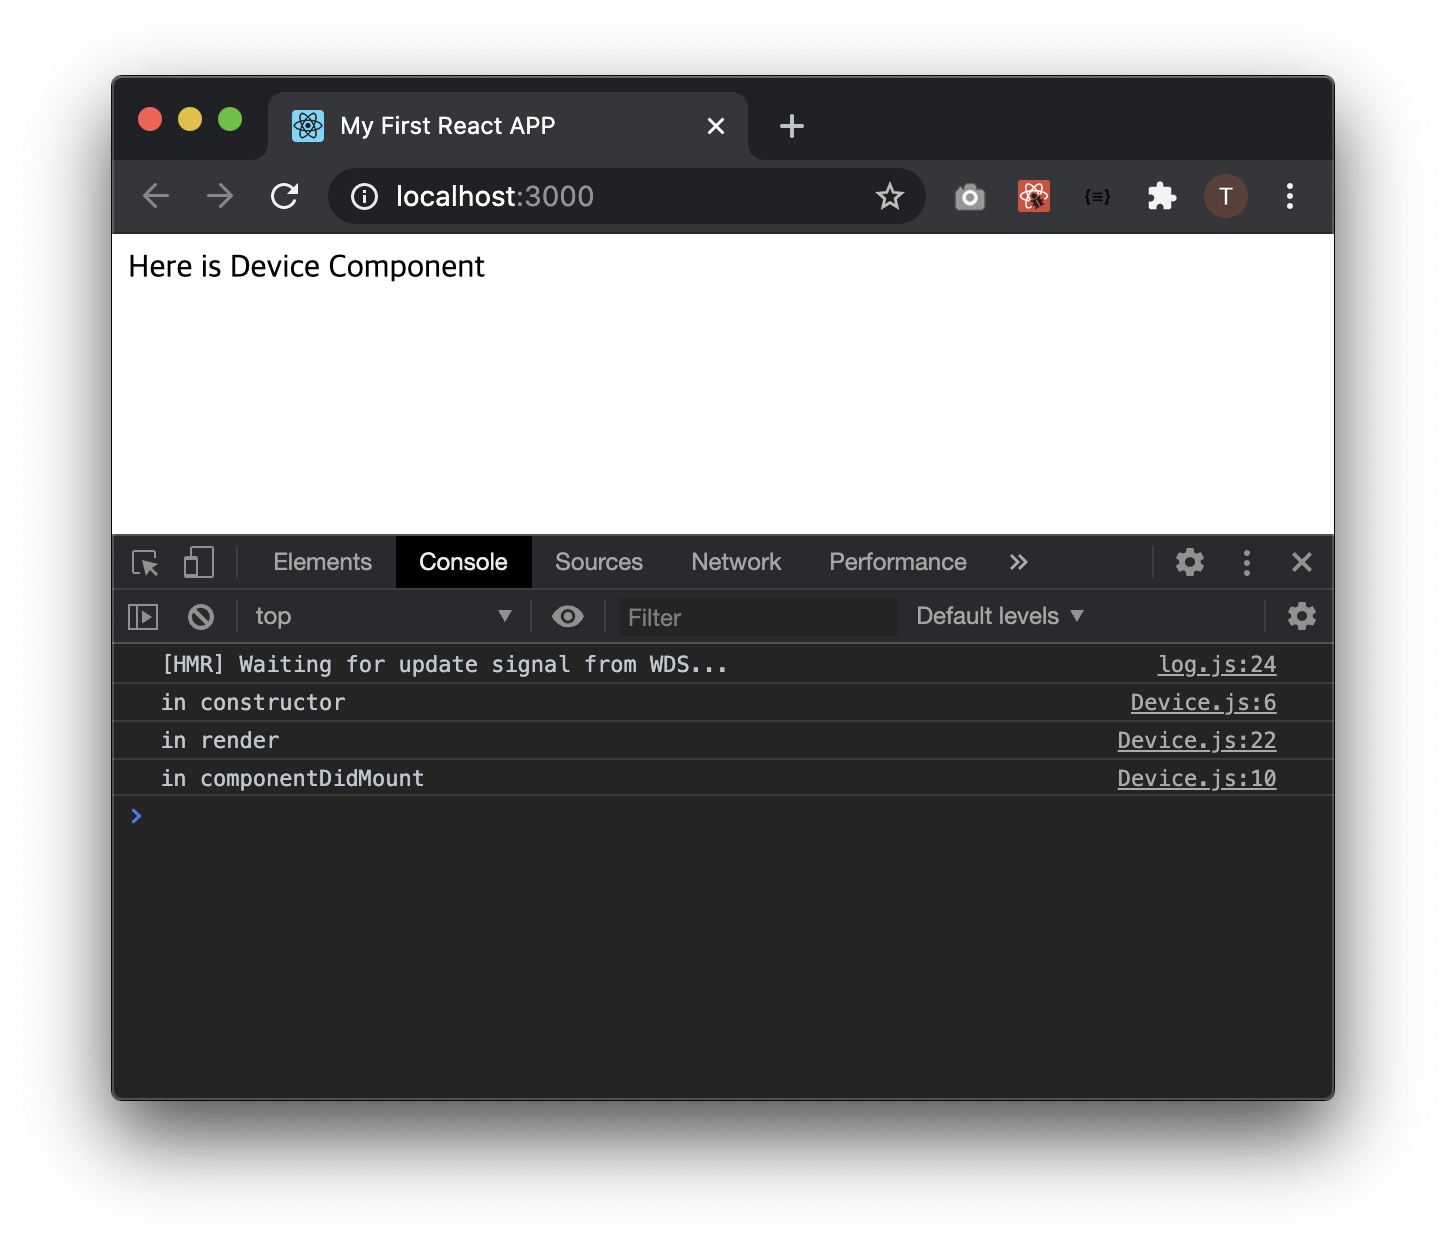
콘솔로그를 보면 constructor()함수가 실행되었고, 그 다음 render()함수가 실행되었으며, 그 이후 componentDidMount()함수가 실행됩니다.
즉, 클래스가 처음 작동시에 생성자인 constructor()함수가 실행됩니다. 그리고 화면을 그리는 render()함수가 실행되며, render()함수가 작동을 모두 마치면 componentDidMount()함수가 실행됩니다.
componentDidUpdate()함수는 화면에 어떠한 정보가 업데이트되면 실행됩니다.
아직 우리는 render()함수가 실행 후 화면에 어떠한 정보를 업데이트하지 않기 때문에 componentWillUnmount()가 실행되지 않습니다.
마지막으로 클래스가 종료될 때 소멸자인 componentWillUnmount()가 실행됩니다.
그럼 앞으로 외부에서 데이터를 가져오는 방법을 학습하면서 componentDidUpdate()도, componentWillUnmount()도 알아봅시다.
그럼 진짜 다음에는 외부에서 데이터를 가져오는 방법에 대해 알아볼게요. ^^


